
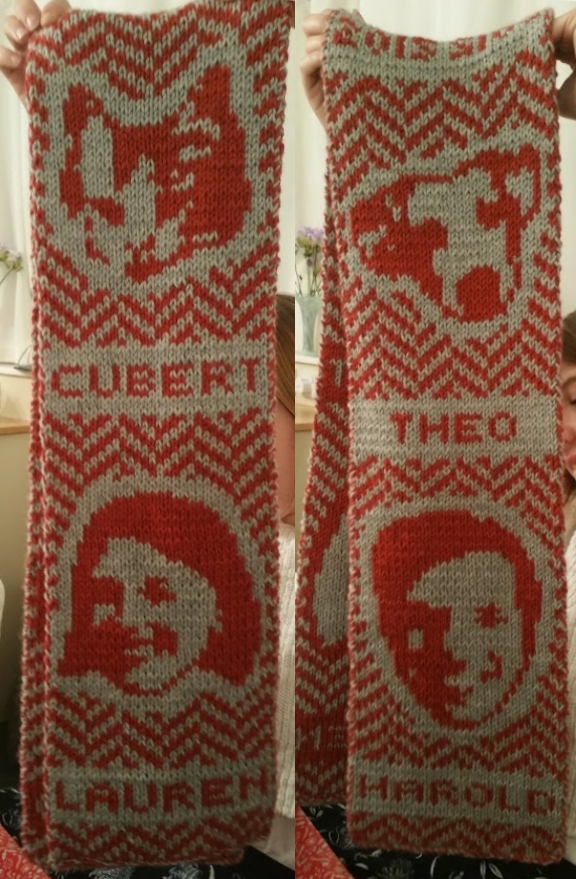
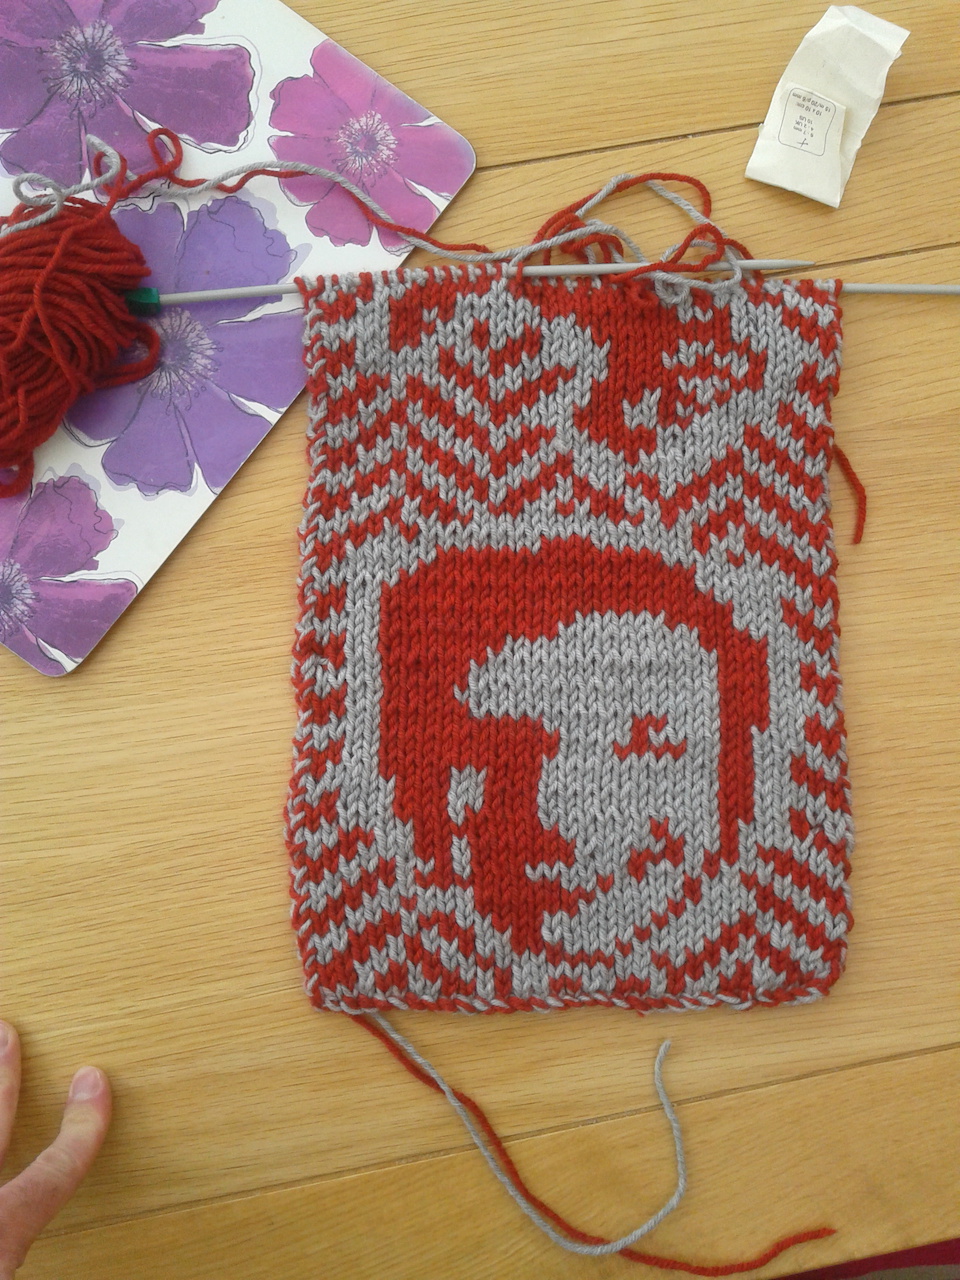
Ho ho ho! Merry Christmas everyone! It’s Christmas 2015 and my brother and his girlfriend are soon to unwrap what I hope is the most alarming yet heartwarming gift they’ve ever received: Their very own double-sided, two-colour Christmas fam scarf.
What’s in the blog
Over the last three months, this scarf and I have been on a journey, from the apprehension of the knitting technique, to the creation of the pattern, then ScarfParty, the web app I wrote to track my pattern, and finally the actual knitting itself. It’s the tale of this journey that I intend to recount in this festive three-part blog.
You’re reading Part one: The intro and the pattern. Here you’ll be charmed and intrigued and then you’ll learn how you can create a slick lo-fi pixellated knitting pattern from almost maybe any image.
Part two: The actual knitting will cover the knitting itself, the double-sided knitting technique involved and how to use it to bring a pixel pattern to life.
Part three: ScarfParty - your solution to the pixel pattern problem will showcase the app I’ve written and open-sourced for following these pixel patterns. If you do have a go at making your own pixel-pattern scarf, you’ll soon realise just how necessary this is!
Right then, this pattern
Having undergone many iterations and complete rebirths from its first conception, here it is! Note that this image has been squished (see later), duplicated, and flipped for full effect.
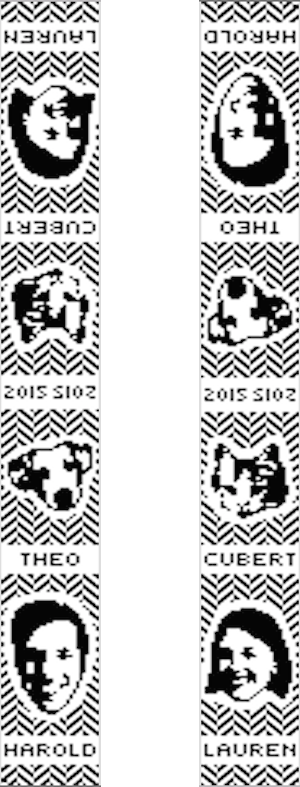
All members of the household, great and small, are represented here in loving detail. Each of the component images has been boiled down from a full-sized colour image using super easy colour manipulation. Each pixel represents a single stitch. Let’s go through an example, making a new pattern from scratch.
To follow this tutorial, you will need: Some image editing software
I found (with my choices limited on my Ubuntu machine) I had to use a variety of different image editing software to achieve all the necessary bits. You can use whatever you like (unless you find yourself trapped on Ubuntu) but here’s what I ended up on.
I used Pinta, Linux’s answer to Paint.net, for most of the image editing. It’s currently in early development but it did most of the work nicely. I have noticed occasional bugs when I’m resizing images, and it’s a bit behind as far as certain tools like layer or selection rotating goes but, for most of it, it worked a treat.
I used Pixlr Editor for assembling the image onto the scarf. I have to put aside a lot of prejudice when I discover something’s written in Flash, but this was the best thing I could find for filling the gaps in Pinta. Its brush tools are a bit laggy and its contrast function is a bit lightweight (this, as we will see, is a critical deficiency), but I was still pleased to find it.
Spec’ing out your scarf
Before you start on your pattern, you need to think about how long and wide you want your scarf to be, and how many rows and stitches you need to achieve your desired dimensions. This will of course depend on your needles and your wool and all that. The great thing about this being a scarf is that it doesn’t matter hugely how accurate you are with this. So long as you come out with something long enough to stretch to the circumference of your neck, you’re laughing.
For the fam scarf, I did a bit of googling on what makes a good scarf size and found most of the results indicated that pretty much anything goes, but my mum told me she understood that a good scarf length was 150cm and I got the impression 20cm was a good width for a fairly wide scarf, which appealed to me because I knew that the wider the scarf, the more recognisable the images would turn out.
I used aran/worsted weight wool and 4.5mm needles. I wouldn’t necessarily follow this example if you think you’ve got a better idea, as my fam scarf is heavy, but it’s certainly not a bad result. After making my little test duck (see part two) I satisfied myself that my pattern wanted to be 30 stitches wide (not including the start and end stitches that form the border), and 300 rows long (again, not including the cast on and off). The final thing ended up being 21cm wide and 147cm high, so not too far wide of the mark.
Are you right there Father Ted?
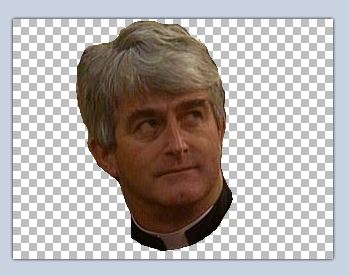
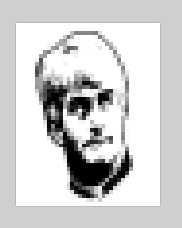
For the sake of variety I’ll make the example from a screen cap of ’90s sitcom Father Ted that I hopefully won’t get in trouble for using.

First, cut out his head so that we’re faced with just the image we’re going to drop into the scarf.
Once I realised what a good idea it was, I found it incredibly helpful to save a copy after each step. This meant that I could go back and try branching off in different ways if I hit a dead end, instead of starting again from the original image every time.
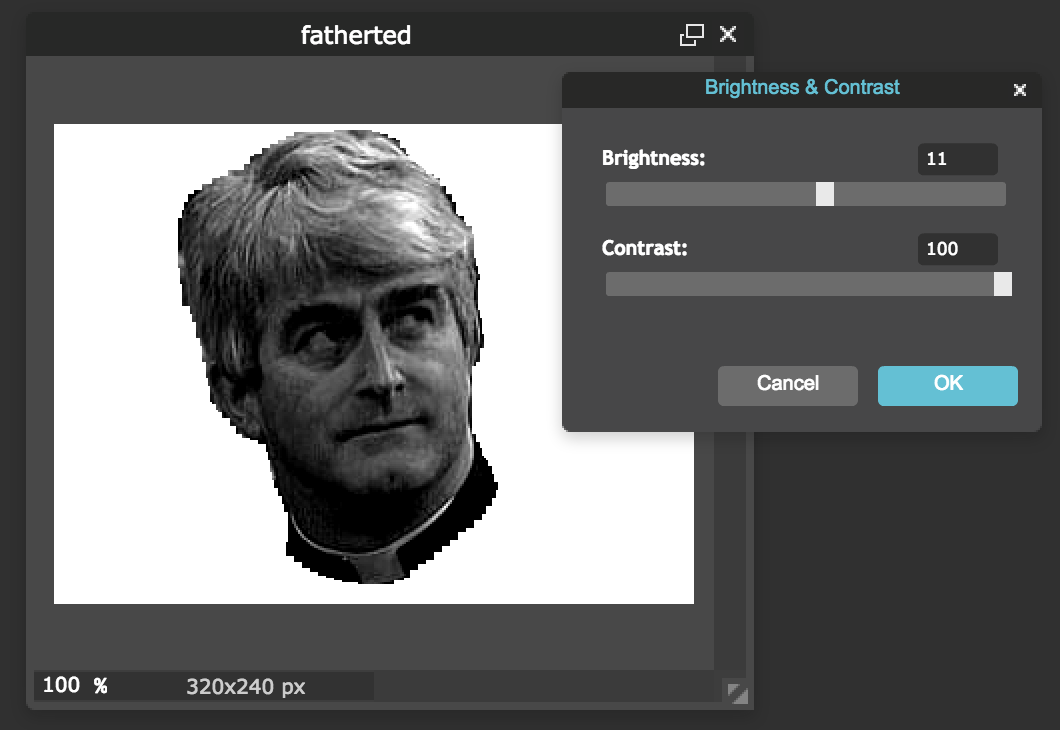
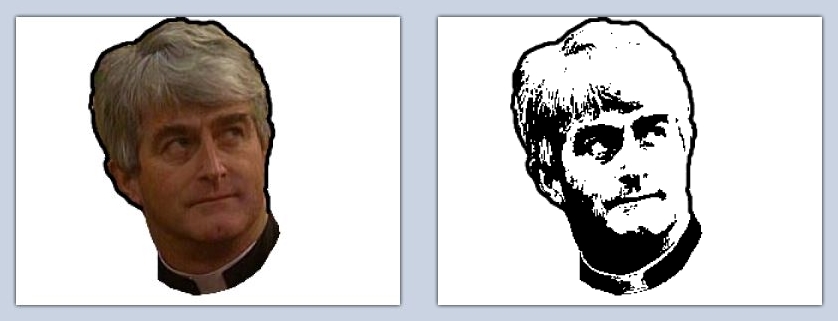
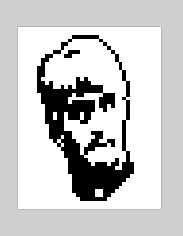
So that we’ve got some definition to work with when we shrink it down, make it a true two-colour jobby by maxing out the contrast slider. Tweak the brightness until you get an image that looks promising (this is definitely more art than science).
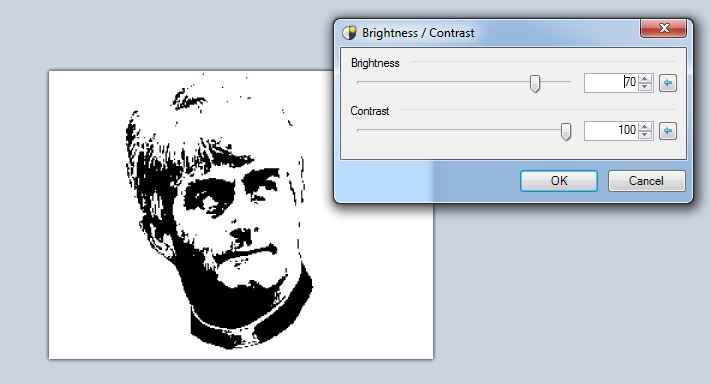
Warning: Note that I’ve jumped into Paint.NET on my dad’s PC for this. Some image editors are a bit stingy with their contrast setting. For instance, if you were to attempt this step with Pixlr Editor you’d only get as far as this (unless I’m missing something).
Not good enough at all.
You also might notice that this step has caused us to lose our boundary between what’s Ted and what’s the background. For some images you’ll find that this problem doesn’t manifest, but for others like this one, you might want to go back a step and bolster the outline with a thick black paintbrush. It looks cartoony and strange while the image is still large, but you’ll find it helps later on.
For best results, use an image which doesn’t necessitate much work in this step, i.e. one with a lot of high contrast edges around the subject.
Now, this is pretty crucial. As became apparent to me about 50 rows into my second attempt, we need to do some fiddling to correct our aspect ratio. I found that my stitches were only approximately 80% as high as they were wide, so simply pixelating an image and shrinking it down was not going to work out. Exhibit A:
 That’s not my brother.
So, we’ll stretch Ted vertically by something like a factor of 1.25. He’ll look weird now, but he’ll look great on the finished product. Remember to turn off ‘maintain aspect ratio’ on whatever tool you’re using to do this.
Now it’s shrinking time. We know that we want him and a bit of padding to total 30 pixels wide. This will probably be another step that takes a bit of trial and error. Here’s what I ended up with in this example:
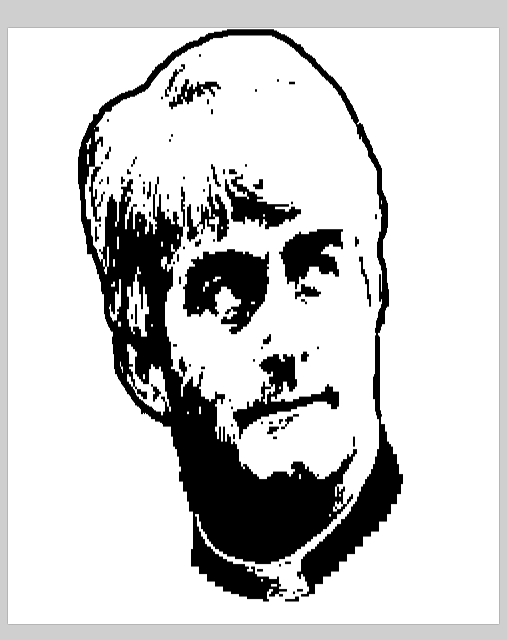
Nice! Looks great right? Well, it looks better because our sometimes friend anti-aliasing has brought in I don’t know how many shades of grey - doh! We now need to play with our brightness and contrast settings for a second time. This is the point at which I found myself throwing most of my failed attempts away, and it’s here that you’ll be most grateful that you remembered to save a copy of the image after each step. It’s tricky, but suspend judgement until zooming out and hopefully after a bit of trial and error you’ll find yourself with a winner. You might want to get the 1 pixel paintbrush tool out and patch up missing edge lines again once you’ve found a balance you like for the facial features.
Depending on how lucky you are with your image, you might be able to skip the high-contrasting step on the larger version of the image and just to it straight on the small one. I found it easier though to high contrast on the large one, patch up any missing lines from there, then shrink and repeat the process.
So there it is! You’ve got yourself a completely unique, highly personalised scarf motif. Copy these onto an image that’s the same height and width in pixels as the number of stitches and rows you worked out you need earlier for the entire scarf and call it a pattern.

And here’s what it looks like with the aspect ratio stretching reversed, giving you a better idea of what it’ll look like on the scarf itself.

Magnificent.
Bonus features
Here’s a bit more info on some of the flourishes that went into the fam scarf.
The stripy background
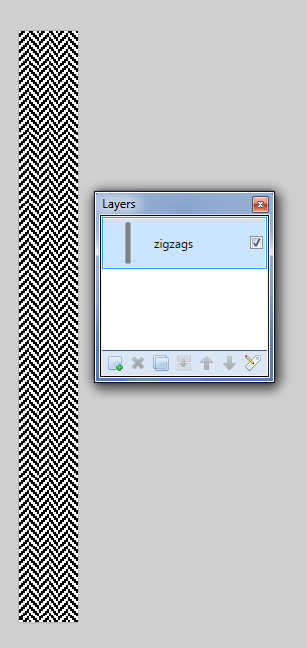
I’m ashamed to say that I can’t for the life of me remember where I found the repeating stripy zigzag pattern that made up the background for the fam scarf. If you recognise it as yours, tweet me and I’ll credit you!
I really like the way a repeating pattern like this draws the scarf into something more than just a creepy showcase of floating heads. I’m sure lots of things would work, but the stripe pattern was the first thing I tried and it ticked all the boxes for me. I found the easiest way to work with this in the pattern was as follows.
First, create a layer which is entirely covered by the repeating pattern. For me this involved a bit of manual pixel painting then a lot of copying and pasting.
Make another layer on top that is completely black. This will help us judge our border around our face.

Paste in the face, and carve away at the background with the eraser to give it a nice border. This is made easier by the black background. Note that ideally you need an image editor with a hard-edged eraser for this (Paint.NET has let me down here, but Pixlr Editor and Pinta do the trick). Hide the black layer for the end result.
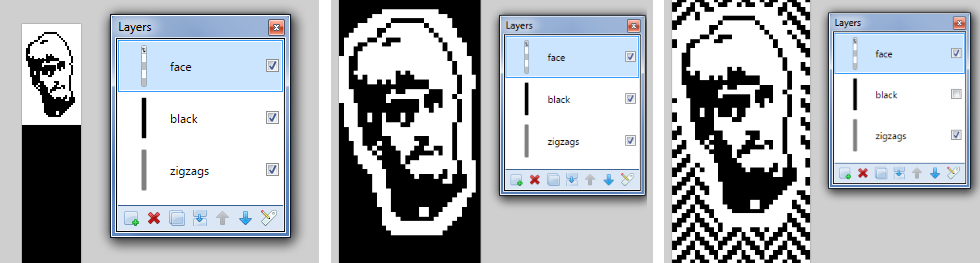 Superb.
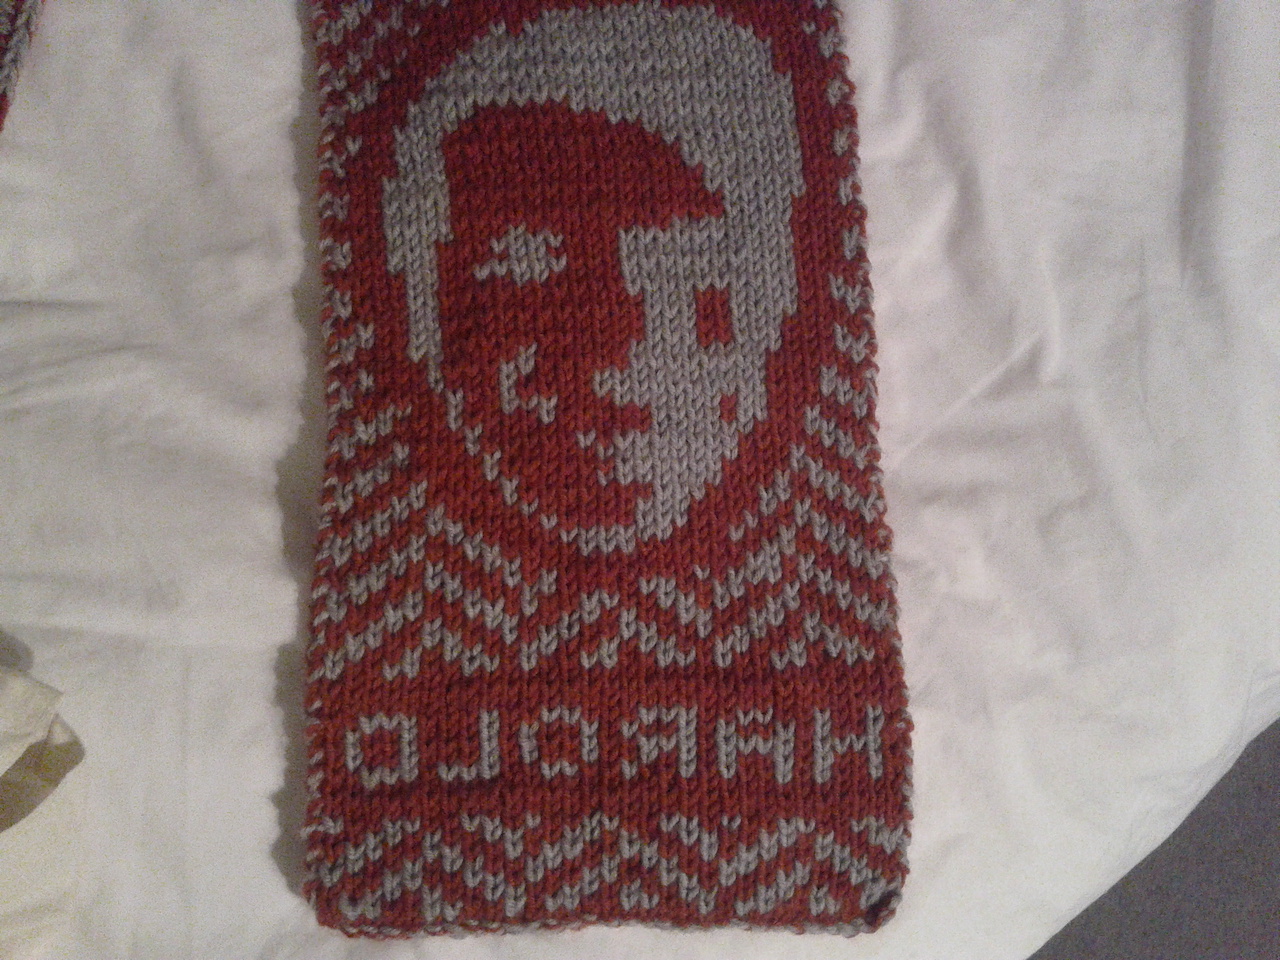
Adding text
I only thought to add text to my scarf on my third and final attempt (my second attempt having been abandoned for unrelated reasons given above) and never have I found a more brilliant silver lining. I like the way it adds variety and I like its ability to remove all doubt about who your picture is supposed to represent. The sad thing is that it sort of takes further away from the reverse side of your finished product, as nothing says ‘Don’t look at this side’ like backwards text. It’s not a huge loss though, as I found the reverse side looks a bit weird anyway.
 Trippy.
I got the font from dafont.com and hopefully I won’t get in trouble for using that either. I found that the easiest way to actually bring it into the pattern was to pencil it in manually, pixel by pixel.
You might find if you need to fit a longer word in that you can easily squish up some of the letters, for example, snip off the end of an L or take a pixel’s width out of the horizontal bars of an O.
Now you’ve got your pattern, head to Part two: The actual knitting to learn how the pattern comes to life as a real, actual, physical entity.